Arduino
Colour Sensor
Explanation
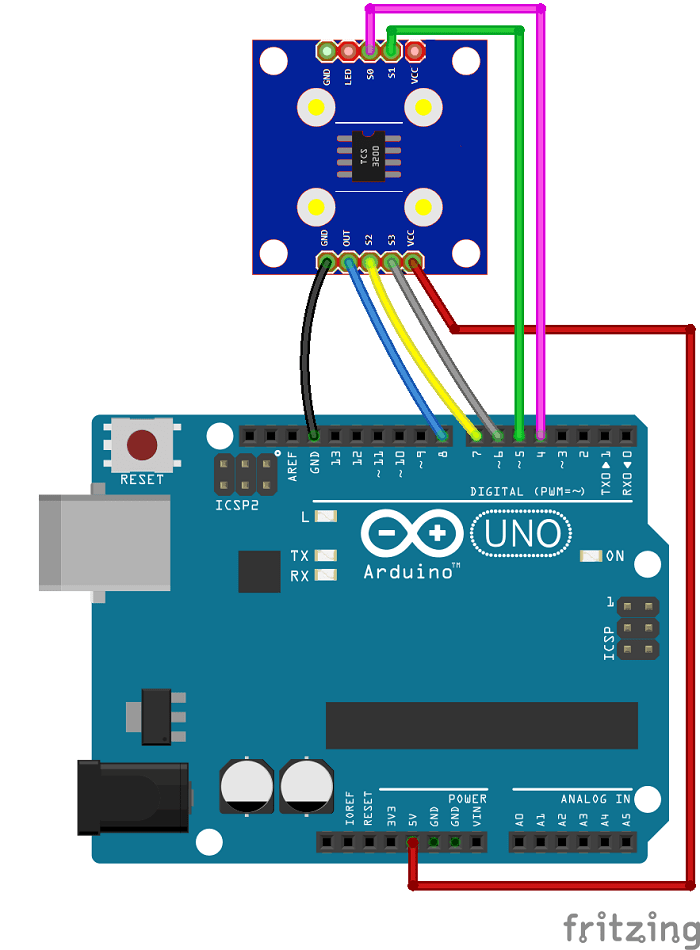
The objective of the project is to detect the color of the object, using the light sensor of the colorimeter, which will receive the reflection of the light, coming from the component LEDs, which are given a pin value (free choice). Thus, once the frequency of the reflected light has been detected, the color variables and its values (in this case three, blue, green and red) are programmed. Once the variables of the colors have been determined, using the command Serial.println, we will be able to see by the computer, the data captured by the sensor every certain time (which will be the one that we choose).
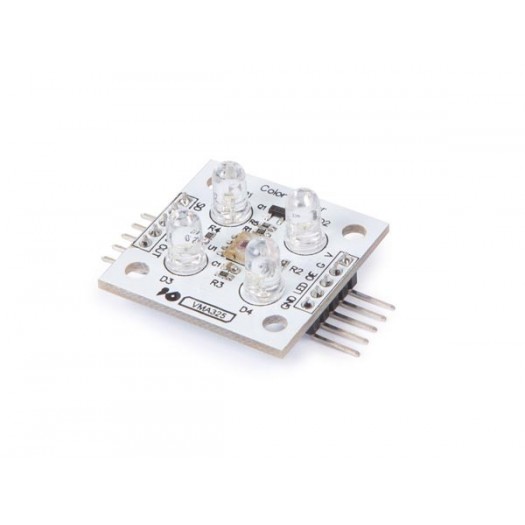
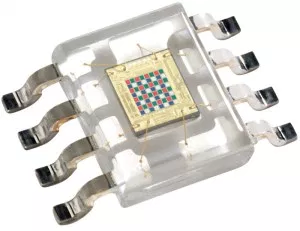
Material
First code:
const int s0 = 4;
const int s1 = 5;
const int s2 = 6;
const int s3 = 7;
const int out = 8;
int rojo = 0;
int verde = 0;
int azul = 0;
void setup(){
Serial.begin(9600);
pinMode(s0,OUTPUT);
pinMode(s1,OUTPUT);
pinMode(s2,OUTPUT);
pinMode(s3,OUTPUT);
pinMode(out,INPUT);
digitalWrite(s0,HIGH);
digitalWrite(s1,HIGH);
}
void loop(){
color();
Serial.print(" ");
Serial.print(rojo, DEC);
Serial.print(" ");
Serial.print(verde, DEC);
Serial.print(" ");
Serial.print(azul, DEC);
if (rojo < azul && verde > azul && rojo < 35)
{
Serial.println(" Rojo");
}
else if (azul < rojo && azul < verde && verde < rojo)
{
Serial.println(" Azul");
}
else if (rojo > verde && azul > verde )
{
Serial.println(" Verde");
}
else{
Serial.println(" ");
}
delay(900);
}
void color()
{
digitalWrite(s2, LOW);
digitalWrite(s3, LOW);
rojo = pulseIn(out, digitalRead(out) == HIGH ? LOW : HIGH);
digitalWrite(s3, HIGH);
azul = pulseIn(out, digitalRead(out) == HIGH ? LOW : HIGH);
digitalWrite(s2, HIGH);
verde = pulseIn(out, digitalRead(out) == HIGH ? LOW : HIGH);
}
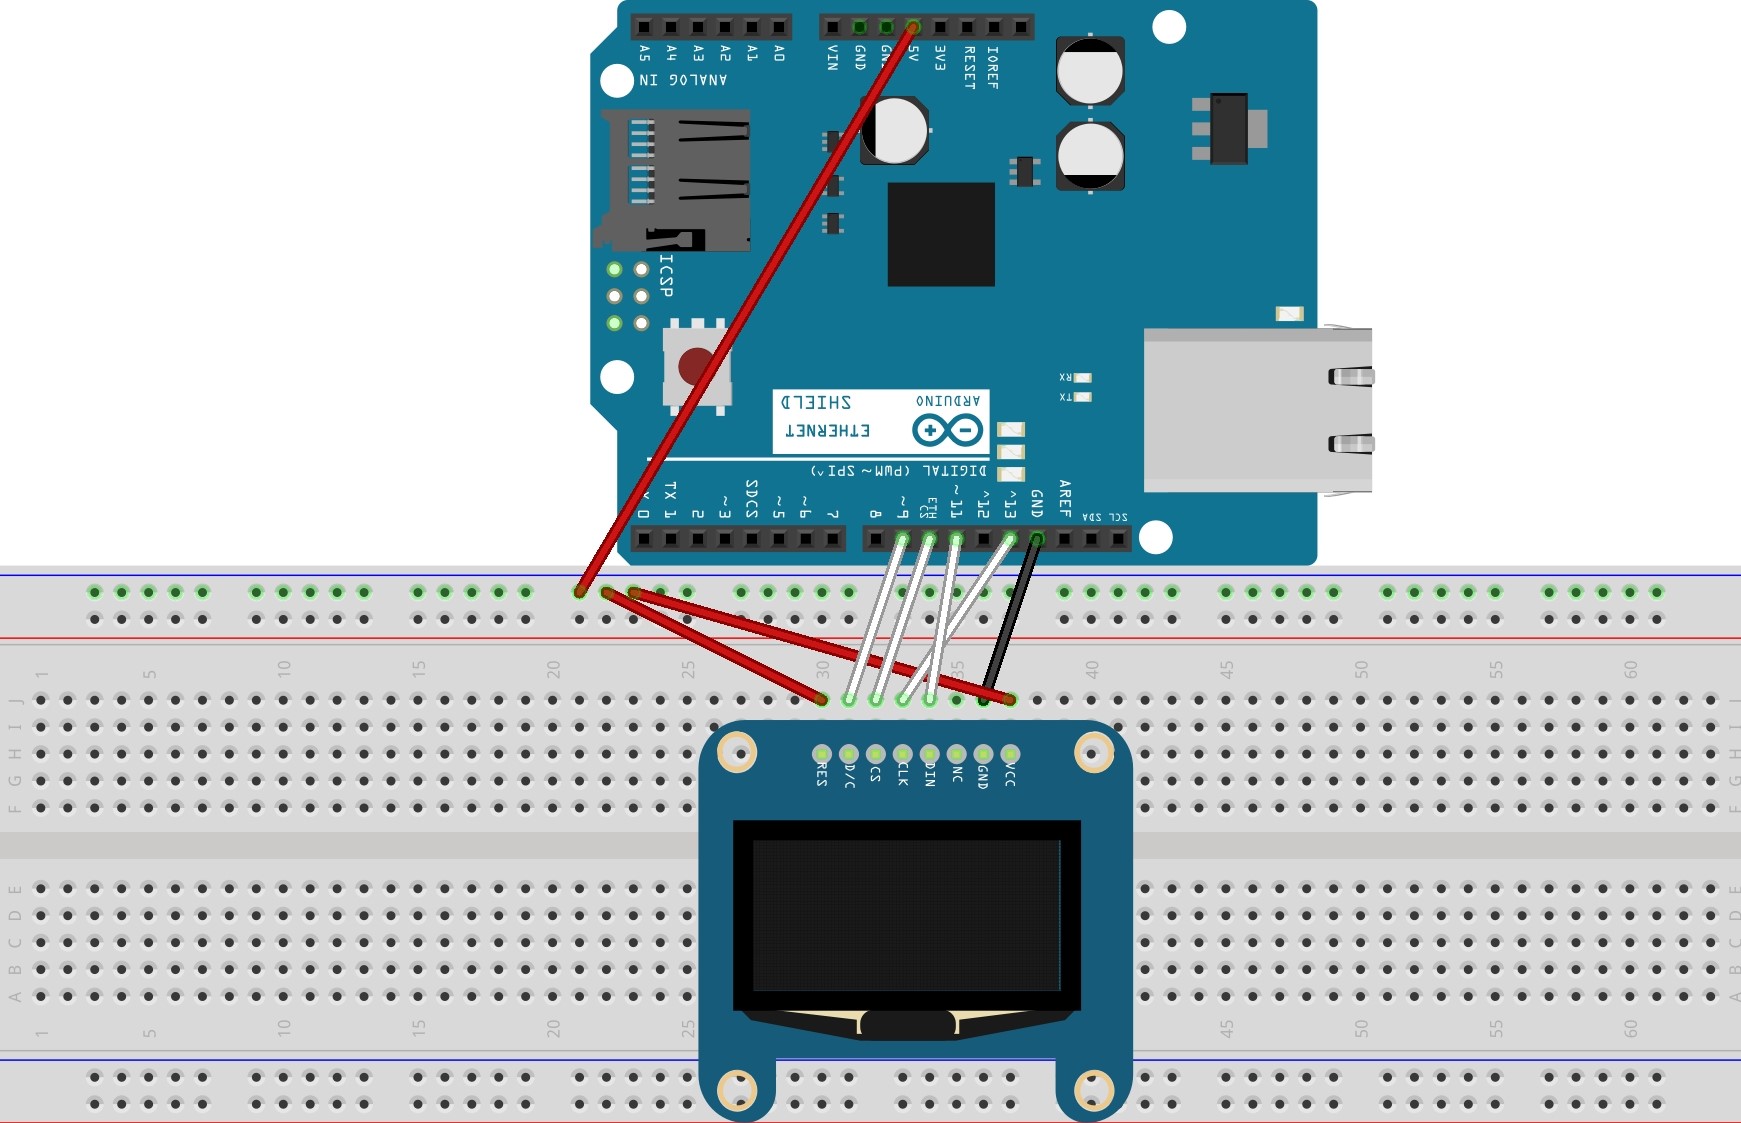
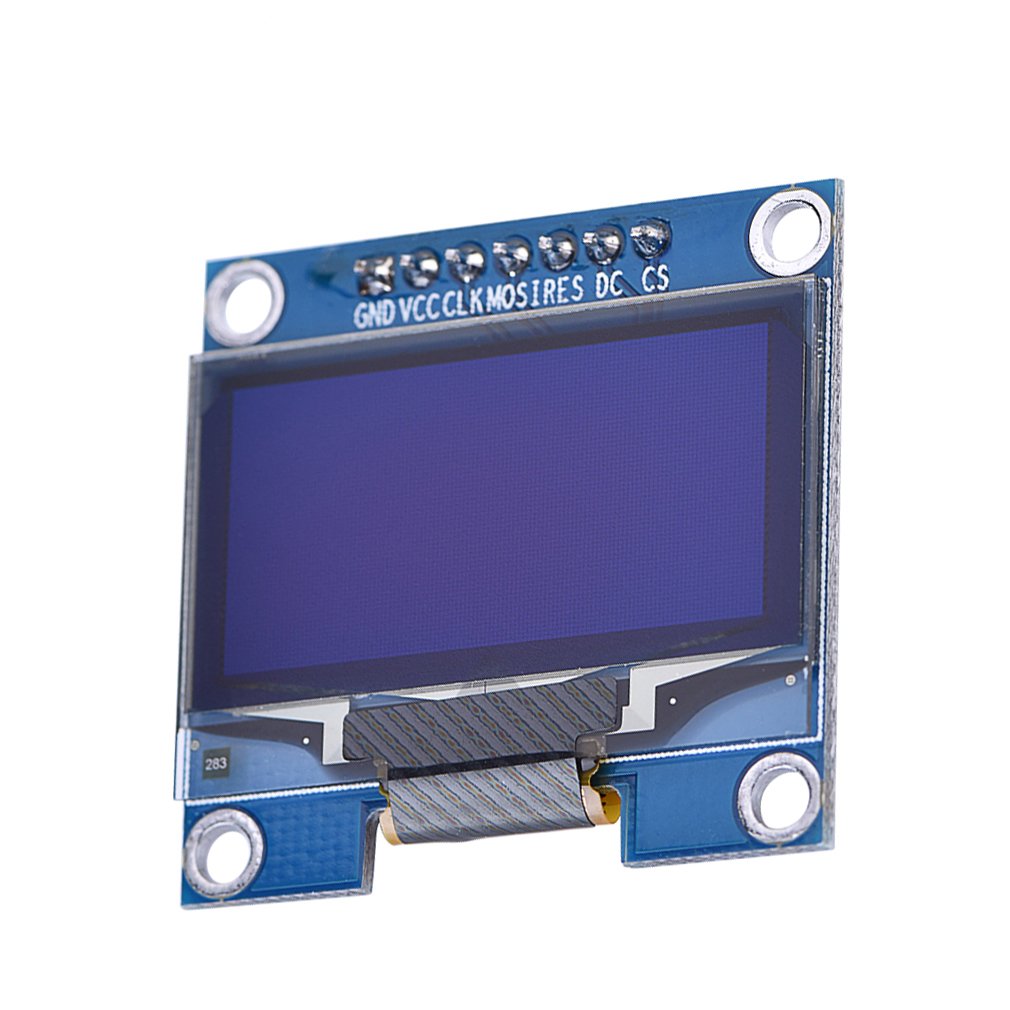
Oled code
Explanation
The objective of the project is to detect the color of the object, using the light sensor of the colorimeter, which will receive the reflection of the light,
coming from the component LEDs, which are given a pin value (free choice).
Thus, once the frequency of the reflected light has been detected, the color variables and its values (in this case three, blue, green and red) are programmed.
Once the variables of the colors have been determined, using the command Serial.println, we will be able to see by the computer, the data captured by the sensor
every certain time (which will be the one that we choose).
Material
code:
#include "U8glib.h"
U8GLIB_SH1106_128X64 u8g(13, 11, 10, 9);
int yPos = 0;
void setup() {
u8g.setFont(u8g_font_unifont);
}
void loop() {
// picture loop
u8g.firstPage();
do {
draw();
} while( u8g.nextPage() );
// rebuild the picture after some delay
else yPos++; }
else {
yPos = 0;
}
}
void draw(){
u8g.drawStr( 0, yPos, "Buenas gente!");
}